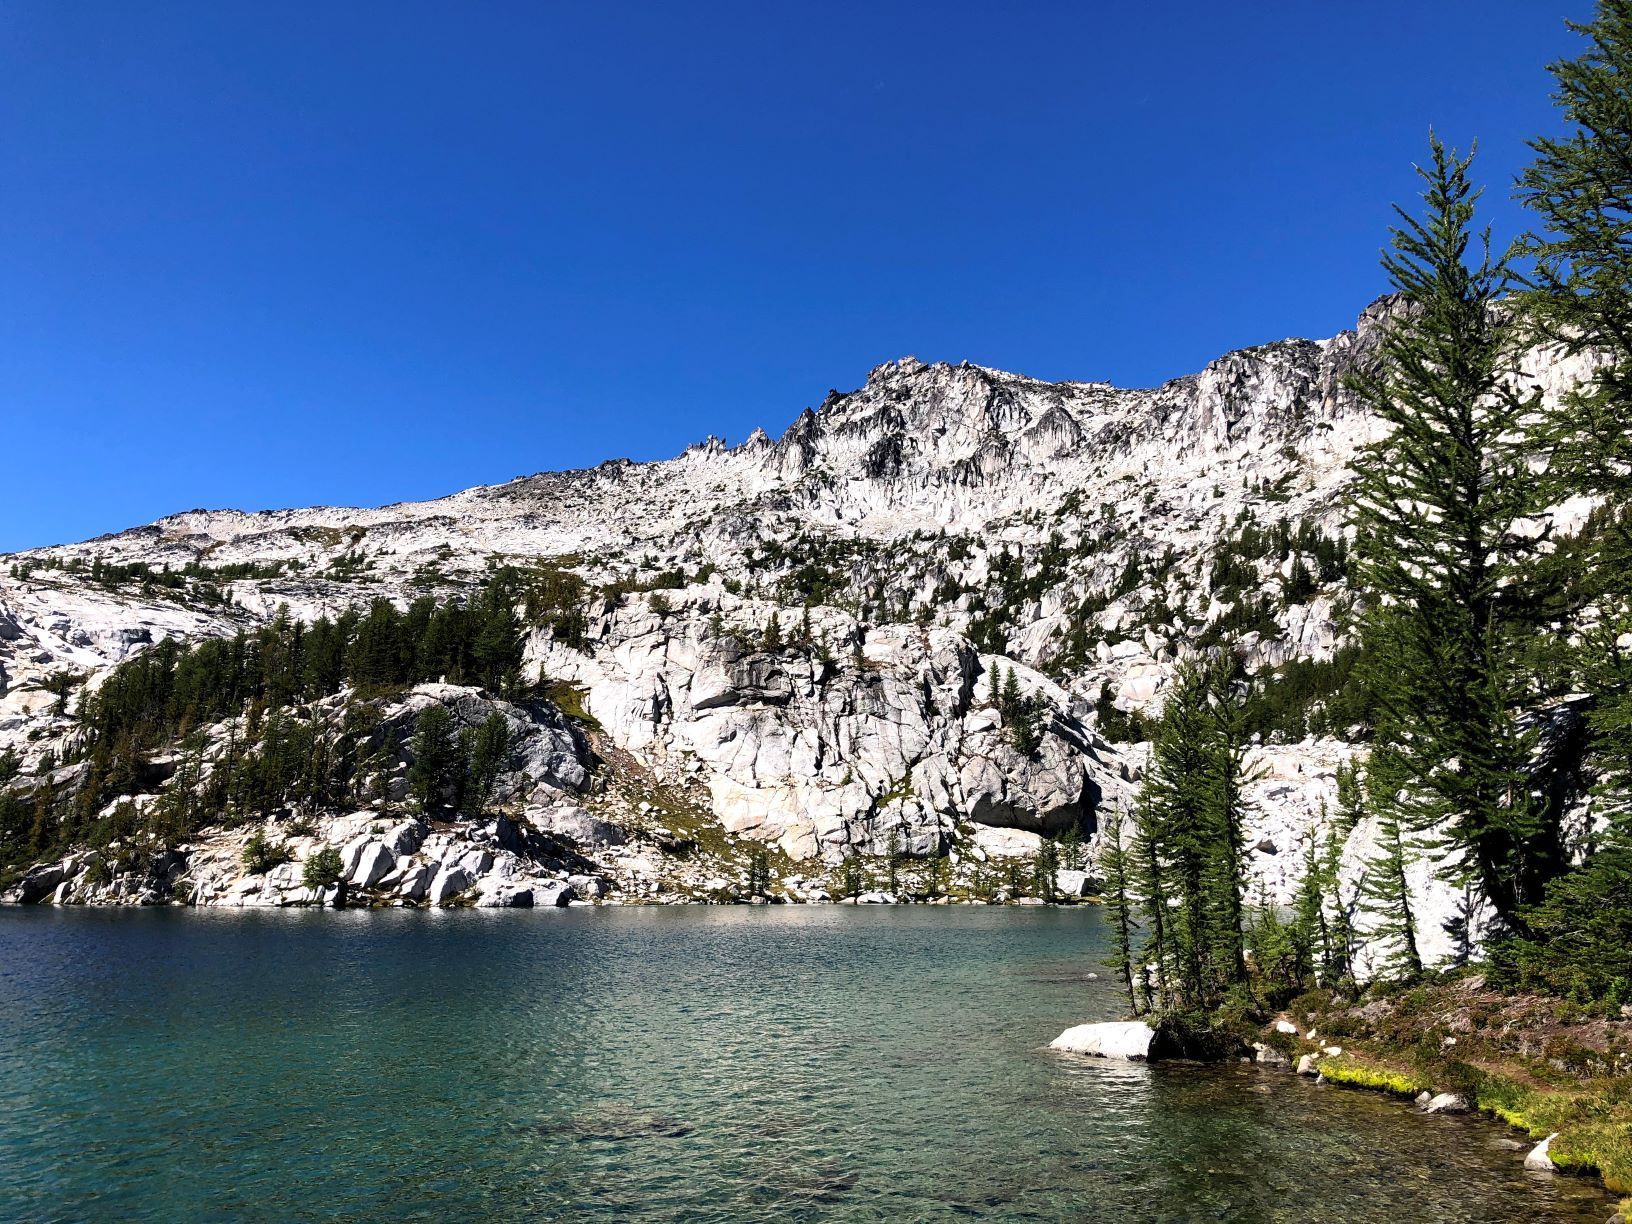
The Enchantments thru-hike is one of the most popular and challenging day hikes in Washington. It takes you past Colchuck Lake, up Aasgard Pass, through the Core Enchantments, and eventually down the long Snow Lakes trail to Icicle Creek Road.
I’ve completed the Enchantments thru-hike four times, mostly hiking but also running sections of the route. It’s one of my favorite hiking experiences in Washington, but it’s also a hike I think people can underestimate.
Aasgard Pass gets most of the attention, and for good reason. It’s steep and hard. But reaching the top of Aasgard doesn’t mean the difficult part is over. You still have miles of rugged terrain ahead of you, followed by a very long descent to the Snow Lakes trailhead.
For me, that descent has consistently been the hardest part.
If you’re planning to thru-hike the Enchantments in one day, come prepared. You need the fitness for a long day in the mountains, but you also need to think about weather, navigation, food, water, gear, transportation between trailheads, and what you’ll do if the day doesn’t go according to plan.
This guide covers what I think you should know before you go.
Enchantments Thru-Hike at a Glance
Distance: Approximately 18 miles one way
Elevation gain: Approximately 4,500 feet
High point: Approximately 7,800 feet
Difficulty: Very difficult
Typical route: Stuart Lake Trailhead → Colchuck Lake → Aasgard Pass → Core Enchantments → Snow Lakes → Snow Lakes Trailhead
Aasgard Pass: Approximately 1,900 feet of climbing in less than one mile
Dogs: Not allowed
Day-use permit: Free self-issued permit required
Overnight permit: Required during the overnight permit season
Parking pass: Northwest Forest Pass or America the Beautiful Pass for day users
Washington Trails Association currently lists the traverse as 18 miles one way with approximately 4,500 feet of elevation gain. The route is generally done from the Stuart Lake trailhead toward Snow Lakes because traveling in the opposite direction adds roughly 2,600 feet of elevation gain.
Before your trip, always check current trail, road, and weather conditions. Access and trail conditions can change from season to season.
How Hard Is the Enchantments Thru-Hike?
It’s hard.
Eighteen miles may not sound extreme to experienced hikers, but mileage doesn’t tell the whole story here.
You’re climbing roughly 4,500 feet, including the very steep ascent of Aasgard Pass. You’ll travel over rocky and uneven terrain through the Core, navigate some rugged sections around Lake Viviane, and eventually descend thousands of feet toward the Snow Lakes trailhead. WTA classifies the route as hard and specifically warns hikers not to underestimate the preparation and gear required.
The length of the day matters too. Fatigue changes how you move. A rocky descent that might feel manageable early in a hike can feel completely different after you’ve already been moving for hours.
That’s one reason I wouldn’t recommend choosing the Enchantments as your first big hike just because you’ve heard other people do it in a day.
Popularity does not make this an easy hike.
Which Direction Should You Thru-Hike the Enchantments?
Most people start at the Stuart Lake trailhead and finish at the Snow Lakes trailhead.
That’s the direction I’ve done it, and it’s the direction I’d recommend for most hikers.
Starting at Stuart Lake gets you to Colchuck Lake and then sends you up Aasgard Pass into the Core. From there, you continue through the Enchantments and eventually descend past Snow Lakes toward Icicle Creek Road.
Doing the traverse in reverse means considerably more total climbing. WTA estimates that reversing the route adds about 2,600 feet of elevation gain.
The tradeoff is that the standard direction leaves you with a long downhill at the end of the day.
Don’t dismiss that part.
The Enchantments Thru-Hike Route
Stuart Lake Trailhead to Colchuck Lake
The day starts at the Stuart Lake trailhead.
The beginning is much more gradual than what’s coming later. You’ll follow the Stuart Lake Trail along Mountaineer Creek before reaching the junction for Colchuck Lake.
From there, the climbing becomes more noticeable as you make your way toward Colchuck.
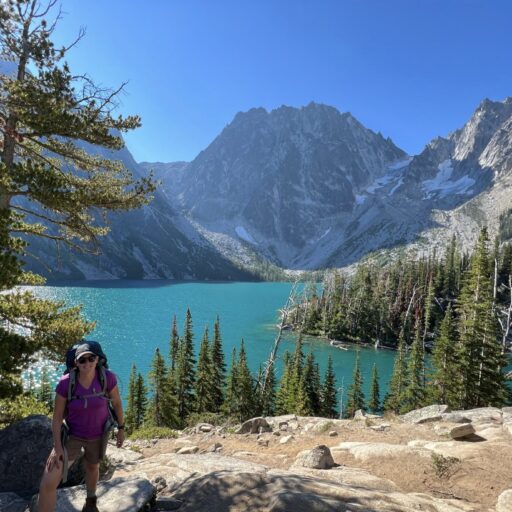
Colchuck Lake is your first major landmark and a good place to take stock of how you’re feeling. Across the lake, Aasgard Pass rises toward the Core Enchantments.
It’s intimidating when you see it.
That’s also a good reminder that you don’t need to race through the beginning of the hike. You have a long day ahead.
Colchuck Lake to Aasgard Pass
This is the section everyone talks about.
Aasgard Pass climbs approximately 1,900 feet in less than a mile and tops out around 7,800 feet. The route travels over steep, rocky terrain and can be difficult to follow in places.
My advice is simple: take your time.
I’ve done Aasgard multiple times. It’s hard. Take breaks when you need them, keep eating and drinking, and don’t worry about how quickly somebody else is climbing.
This isn’t where you want to burn yourself out trying to keep up with another group.
Conditions also matter enormously. Snow changes Aasgard from a strenuous climb into something considerably more serious. Recreation.gov specifically warns that Aasgard is not appropriate for hikers who aren’t prepared and equipped for steep snow travel. Fatal accidents have occurred when hikers have glissaded and fallen into hidden creeks or holes in the snowpack.
If snow is present, don’t treat Aasgard like the same hike you saw in somebody’s sunny August Instagram post.
Aasgard Pass Through the Core Enchantments
Reaching the top of Aasgard feels like a huge accomplishment, but don’t mentally treat it as the finish line.
It isn’t.
You’re now entering the Core Enchantments, with high alpine lakes, granite terrain, and some of the scenery that makes this route so popular.
This is also where I would actually slow down enough to enjoy where you are.
If you’ve spent all morning focused on reaching Aasgard, it’s easy to get to the Core and immediately start worrying about the remaining mileage. Give yourself enough time in your day that you aren’t forced to rush through the part you worked so hard to reach.
And continue paying attention to your route. This isn’t the place to switch your brain off because the hardest climb is behind you.
Core Enchantments to Lake Viviane
As you work your way through the Core and toward Lake Viviane, the route begins transitioning toward the long descent.
The section between Lake Viviane and Upper Snow Lake includes rugged terrain and scrambling. WTA specifically advises hikers to take their time through this section.
This is where fatigue can start becoming noticeable, particularly if you’ve moved too hard earlier in the day.
Snow Lakes to the Trailhead
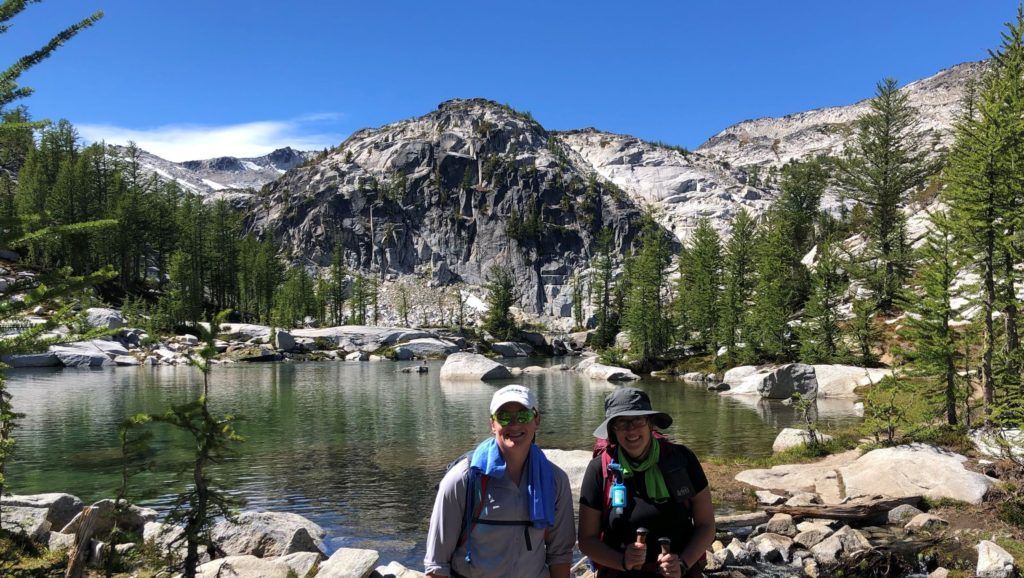
For me, this is the hardest part of the entire thru-hike.
Not Aasgard.
The downhill.
By the time you reach this section, you’ve already been hiking for hours. Now you have a long descent ahead of you, and it can feel like it goes on forever.
WTA makes essentially the same warning: the descent from Snow Lakes can take an even greater toll than the climb up Aasgard because of the sustained downhill.
This is something I would specifically train for.
Strong uphill fitness doesn’t automatically mean your legs are prepared to descend for miles while tired. Your quads have to repeatedly control your body as you lower yourself with each step, and that adds up.
If you’re preparing for the Enchantments, don’t train only for Aasgard.
Train for the end of the hike.
And one warning from experience: toward the end of the hike, you’ll eventually start seeing cars and headlights through the trees and think you’re almost there. Don’t be fooled. You still have roughly two miles to go before you actually reach the Snow Lakes trailhead. After such a long day, those last couple of miles can feel surprisingly long.
How Long Does the Enchantments Thru-Hike Take?
There isn’t one useful answer for everyone.
Your hiking speed, fitness, trail conditions, weather, how much time you spend taking photos or stopping at the lakes, and how comfortable you are on rocky terrain can all change the length of the day.
I would plan this as a full-day objective rather than trying to hit somebody else’s finishing time.
That’s another reason to start early. An early start gives you more daylight, more flexibility for breaks, and some margin if the hike takes longer than expected.
And regardless of when you expect to finish, carry a headlamp.
Your phone flashlight is not your hiking plan.
Enchantments Permits: Do You Need One for a Day Hike?
Yes, but the rules for day hiking and overnight camping are different.
For a day-use thru-hike, Recreation.gov currently requires a free self-issued day-use permit. These are available at the trailheads. Day users also need to purchase and display the appropriate parking pass.
Overnight camping is different. Between May 15 and October 31, overnight use in the Enchantments requires an overnight permit. The area is divided into five overnight permit zones, and permits are managed through the Enchantments permit system.
Rules can change, so don’t rely solely on an old blog post—including this one. Check the current Forest Service/Recreation.gov information before your trip.
Current Enchantments permit information
Parking and Transportation Between Trailheads
A thru-hike creates a logistical problem: you start and finish in different places.
The usual southbound route starts at the Stuart Lake trailhead and ends at the Snow Lakes trailhead.
If you’re hiking with a group and have two vehicles, you can arrange a car shuttle. Another option is a commercial trailhead shuttle. WTA currently references the Loop Connector Shuttle as one option for hikers doing the traverse.
Whatever method you use, figure it out before the morning of your hike.
Parking is limited, and the area is extremely popular. WTA notes that the Stuart Lake lot only accommodates roughly 20–30 cars, with additional parking restrictions along the access road.
For day use, WTA currently lists a Northwest Forest Pass or America the Beautiful Pass for parking.
When Is the Best Time to Thru-Hike the Enchantments?
The answer depends heavily on snow and current conditions.
Summer generally brings more snow-free travel, but it also brings crowds and heat. Fall is extremely popular because of the larches, but shorter days and changing mountain weather become bigger considerations.
Snow can persist into the hiking season and can return early at elevation.
That’s why I wouldn’t choose your date based solely on a calendar or someone’s trip report from a previous year.
Check current trail reports, weather forecasts, and Forest Service information shortly before you go.
Current Enchantments trail information from WTA
Fall and Larch Season in the Enchantments
Fall is an incredible time to be in the Enchantments, but it’s also one of the busiest.
The larches turn gold, temperatures cool, and the landscape can look completely different from summer.
That popularity comes with a downside. If you go during peak larch season, expect other people. Lots of them.
Don’t go into the Enchantments during one of its most popular periods expecting solitude.
More importantly, don’t let the number of people around you give you a false sense of security. You’re still traveling through a high alpine wilderness environment. You need your own gear, your own preparation, and the ability to take care of yourself if something goes wrong.
Don’t Underestimate the Enchantments
This is probably the most important thing I can tell someone planning the thru-hike.
I’ve done it four times, and I don’t consider it an easy hike.
Yes, plenty of people complete it every year. That doesn’t change the terrain, elevation, distance or potential weather.
Mountain conditions can change quickly. Temperatures at 7,800 feet can be very different from what you experienced at the trailhead. Snow, rain, wind, heat, and cold can all change what the day requires from you.
The Forest Service describes the Enchantments as a remote alpine environment with real hazards and specifically emphasizes knowing your own ability and the abilities of the people you’re hiking with.
Carry the Ten Essentials. Bring layers. Carry a headlamp. Know how you’re navigating. Have enough food. Have a way to treat water. Tell someone where you’re going and when you expect to be back.
And be willing to change your plan when conditions aren’t right.
Getting to the other trailhead isn’t more important than making a safe decision.
What to Bring for the Enchantments Thru-Hike
You don’t want an unnecessarily heavy pack for an 18-mile day, but going ultralight by leaving essential safety equipment behind isn’t the answer either.
For a one-day Enchantments traverse, I would think carefully about the Ten Essentials plus the gear specific to the conditions you expect. That generally means navigation with an offline backup, headlamp and spare power, sun protection, first-aid supplies, emergency shelter, adequate food, water and a filtration or treatment method, extra insulating clothing, rain protection, and appropriate footwear. Trekking poles can also be very helpful on the long descent.
Your exact gear should change with the season and conditions.
Don’t copy somebody else’s packing list without thinking about whether it makes sense for your particular day.
Water and Hydration
There are multiple water sources along the route, but don’t assume that means you can hike with almost no water.
How much you need to carry at one time depends on heat, your personal needs, your pace and where you plan to refill.
Bring a reliable filter or other water-treatment method and know how to use it before the hike.
The climb toward Aasgard can be particularly hot and exposed depending on the time of day. WTA recommends getting an early start partly because climbing Aasgard during the hottest part of the day makes an already difficult climb harder.
Food and Fueling
Eat throughout the day.
This isn’t the hike where I’d wait until I’m starving before remembering the food in my pack.
Bring food you already know sits well with you while exercising. A mix of carbohydrate-rich foods, salty foods, and whatever else you tolerate well is more useful than trying something new because somebody online called it the perfect hiking fuel.
Training hikes are also the time to practice this.
Figure out what you like to eat, how often you need food, and how your stomach responds after several hours of hiking.
How to Train for the Enchantments Thru-Hike
This is where I think a lot of people can prepare better.
Your training should match what the Enchantments actually asks you to do.
You need aerobic endurance for a long day, uphill fitness for Aasgard and the earlier climbing, lower-body strength, stability for uneven terrain, and enough muscular endurance to handle thousands of feet of descending after you’re already tired.
I would build training around hiking and time on your feet, progressive elevation gain, strength training, hills or stairs, and eventually longer hiking days that allow you to practice your pacing, gear, food, and hydration.
For strength work, exercises such as squats, split squats, step-ups, Romanian deadlifts, lunges, calf raises, and loaded carries can all have a place depending on the person.
For more ideas, here are my 10 best strength training exercises for hiking.
But I would put extra emphasis on downhill preparation.
Step-downs, reverse lunges, split squats, and controlled eccentric strength work can help prepare your legs for the repeated braking demands of descending. Actual hiking with sustained downhill terrain is important too.
One of the biggest mistakes would be getting extremely good at the StairMaster, feeling prepared for Aasgard, and forgetting that you’ll eventually have to come all the way back down.
If you’re starting from a relatively low fitness level, give yourself enough time to train. Four weeks of workouts isn’t a substitute for gradually building the capacity for a long mountain day.
A Simple Weekly Training Structure
You don’t need to train seven days a week to prepare well.
A typical week might include two strength-training sessions, two or three cardiovascular sessions, one session that specifically includes hills or stairs, and a progressively longer hike on the weekend. Recovery days matter too.
As the trip gets closer, the long hikes should become increasingly specific to what you’ll encounter: more time on your feet, more elevation, uneven terrain, and meaningful descending.
The exact plan should depend on your current fitness and hiking experience rather than simply counting backward from your hiking date.
If you want a more structured starting point, my 12-Week Hiking Training Plan walks through how to progressively build strength, endurance, and hiking volume over three months.
The Downhill Deserves Its Own Training
I’m giving this its own section because it’s the part I wish more people thought about.
For me, the descent has been harder than Aasgard.
Aasgard is intense, but you know you’re climbing toward something. The descent is different. It’s long, you’re already tired, and your legs absorb step after step of downhill loading.
This is where strength training can make a noticeable difference.
You want strong quads, glutes, calves, and hips, but you also need the muscular endurance to keep controlling your movement after hours on the trail.
During your training, don’t finish every long hike at the top of the hill.
Practice coming down.
If downhill hiking is something you struggle with, I also have a guide to strength training for downhill hiking with exercises specifically designed to prepare your legs for long descents.
Common Mistakes First-Time Enchantments Hikers Make
The mistakes I’d watch for are underestimating the route because so many other people do it; starting too fast; focusing all of your training on climbing; failing to prepare for the long descent; carrying too little food or water; not bringing a headlamp; relying entirely on cell service for navigation; wearing untested shoes or gear; failing to check current weather, snow, and road conditions; and assuming the presence of crowds makes the route safe.
One more: don’t schedule yourself so tightly that you feel pressured to continue when the conditions are telling you not to.
Pack It In, Pack It Out
This one matters to me.
The Enchantments has become incredibly popular, and unfortunately I’ve seen trash left behind.
Please don’t be part of that problem.
If you carry something in, carry it back out. That includes food wrappers, tissues, toilet paper, and every other piece of trash you create.
The Forest Service has identified crowding and impacts to the natural environment as management concerns in the Enchantments. A 2025 recreation study was conducted specifically to help address visitor safety, crowding, and impacts to natural resources in this heavily used area.
The rules are also clear about human waste. Recreation.gov instructs visitors to use toilets where available and, when one isn’t available, follow appropriate backcountry waste practices and pack out toilet paper.
This place gets an enormous amount of use.
Keeping it beautiful isn’t somebody else’s responsibility. Every one of us who hikes through it has a part in taking care of it.
Pack it in. Pack it out.
Are Dogs Allowed in the Enchantments?
No. Dogs are prohibited in the Enchantments permit area.
Don’t bring your dog on the thru-hike.
Should You Use Trekking Poles?
I think they’re worth considering, particularly for the descent.
Poles can provide another point of contact on uneven terrain and can be useful as your legs fatigue.
But don’t buy poles the night before and expect them to magically make the hike easier. Practice with the equipment you plan to use.
That applies to your shoes, pack, hydration system, and clothing too.
Can You Trail Run the Enchantments?
Parts of it, yes.
I’ve run sections during my own thru-hikes, but I wouldn’t describe the Enchantments as an 18-mile runnable trail in the traditional sense.
There are sections where moving quickly can feel great and other sections where the terrain demands slower, careful movement.
Whether running portions makes sense depends on your trail-running experience, conditions, how crowded the route is, and how comfortable you are moving over technical terrain.
Speed should never come before control.
Is the Enchantments Thru-Hike Worth It?
For me, absolutely.
I’ve gone back four times for a reason.
But part of what makes the Enchantments such a good experience is being prepared enough that you can actually enjoy where you are.
If you’re completely depleted by Aasgard, worried about running out of daylight, wearing shoes that are destroying your feet, or discovering halfway through the descent that your legs weren’t ready for it, you’re going to have a very different day.
Prepare for the whole route, not just the famous part.
Final Advice From Four Enchantments Thru-Hikes
Start early. Pace yourself on Aasgard. Take breaks. Eat and drink throughout the day. Don’t underestimate the descent. Carry the gear you need if the weather changes. Know where you’re going. Respect your own limits.
And please take care of the place while you’re there.
The Enchantments is crowded because it’s an incredible place to hike. With that popularity comes responsibility.
Come prepared, make good decisions, and carry out everything you carried in.
Training for the Enchantments
If the Enchantments is on your calendar and you’re not sure how to prepare for the climbing, distance, and long descent, that’s exactly the kind of goal I work with through Aspire for Adventure.
My online hiking training is personalized around the hike you’re preparing for, your current fitness, your schedule, and the equipment and terrain you have available.
The goal isn’t simply to get you through the hike. It’s to help you arrive prepared enough to enjoy it.