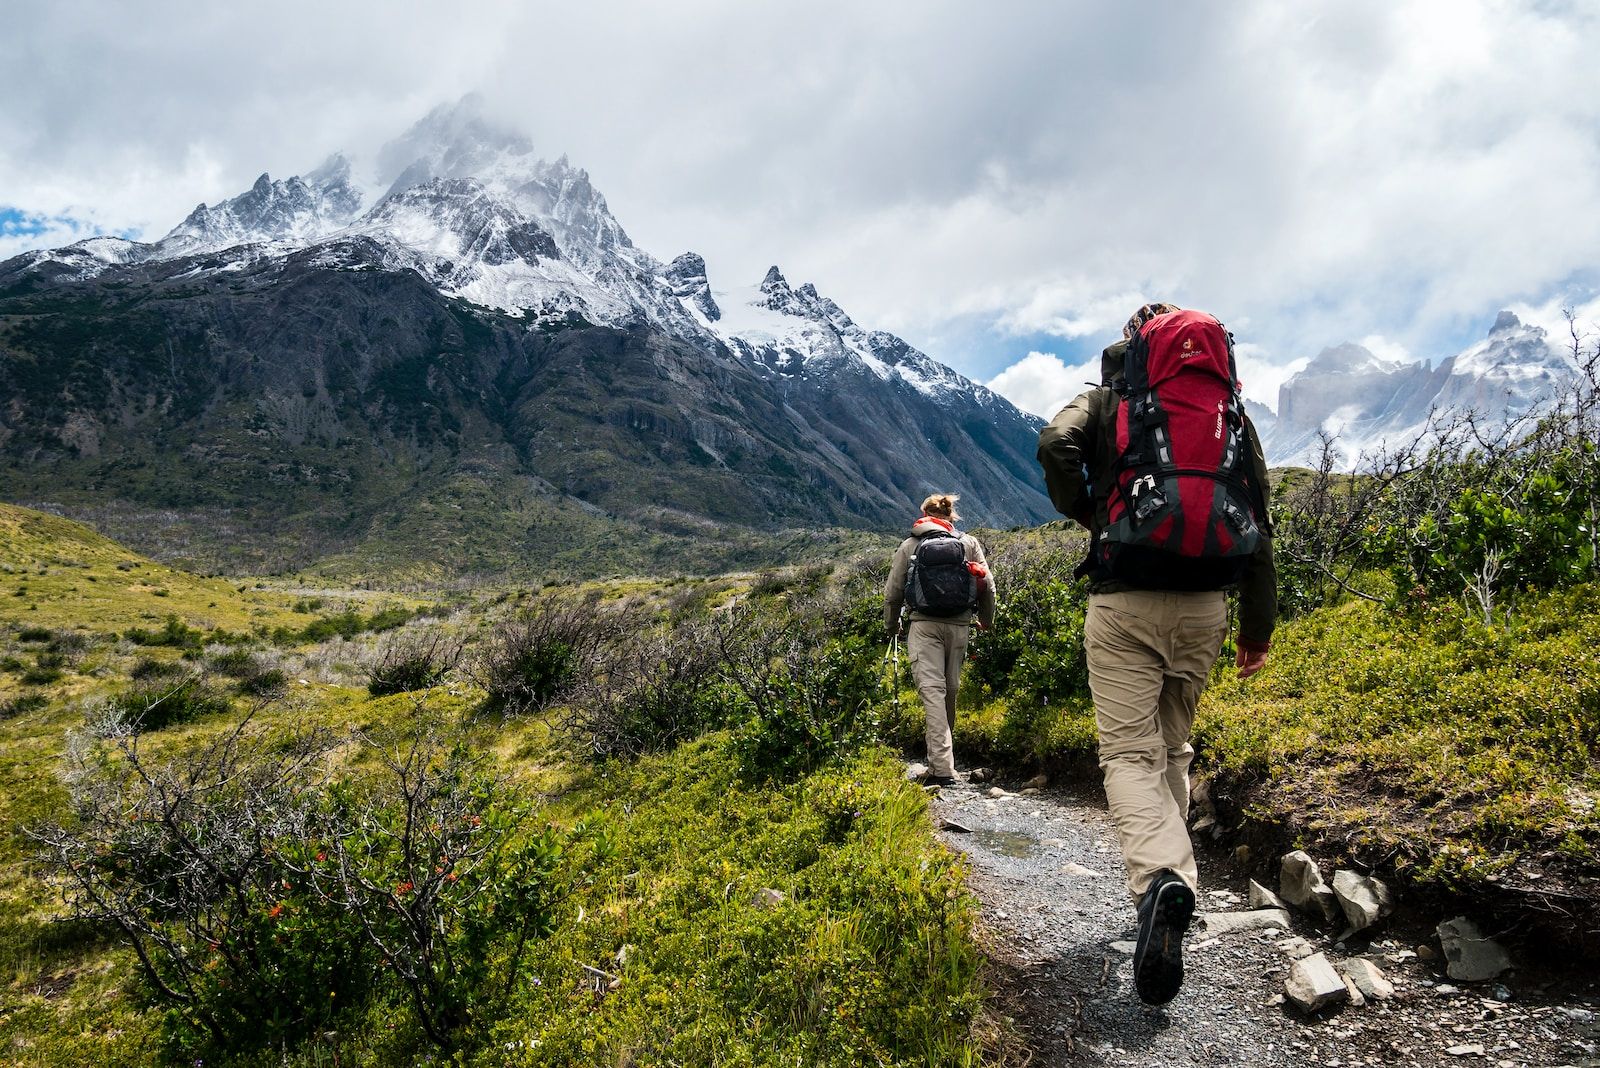
By Cary Davis, Licensed PTA & Certified Personal Trainer
Preparing for a backpacking trip takes more than simply walking more or spending extra time on the treadmill.
When you’re backpacking, you may spend hours climbing and descending while carrying a loaded pack, often for several days in a row. Your legs need strength for the climbs, control for the descents, and enough endurance to keep moving when the miles start adding up.
A good backpacking training plan should prepare you for all of those demands.
This 6-week backpacking training plan combines strength training, cardiovascular exercise, hills or stairs, loaded pack training, and progressively longer hikes. It’s designed for someone who already has a basic level of fitness and wants a structured way to prepare for an upcoming backpacking trip.
If you’re starting from very little activity or preparing for a particularly demanding trip, give yourself more than six weeks if possible.
How to Train for a Backpacking Trip
Your training should gradually become more similar to what you’ll actually be doing on your trip.
That means focusing on four main areas:
Strength
Strong legs, hips, calves, and core help you handle climbing, descending, uneven terrain, and the added weight of your backpack.
Cardiovascular Endurance
You need to be able to keep moving for several hours without becoming completely exhausted.
Walking, hiking, running, cycling, incline treadmill work, and stair climbing can all help build your aerobic fitness.
Hills and Elevation
If your trip includes significant climbing and descending, flat walking alone won’t fully prepare you.
Include hills, stairs, or an incline treadmill when possible.
Backpack Training
Carrying a loaded backpack changes the demands of hiking. Your training should gradually introduce your pack rather than waiting until the trip to see how it feels.
How Many Days a Week Should You Train for Backpacking?
For this six-week plan, aim for approximately four to five training days per week.
A typical week might include:
- 2 strength workouts
- 1–2 cardiovascular or hill workouts
- 1 longer hike or walk
- 2 recovery or rest days
You don’t need every workout to be hard.
In fact, trying to make every training day difficult can leave you too fatigued to complete the workouts that matter most.
Your longer hike should gradually become the most trip-specific part of your training.
Strength Exercises for Backpacking
Backpacking involves a lot of repeated single-leg work. Every time you step uphill, down from a rock, or over an obstacle, one leg has to support and control your body.
That’s why I like to include exercises that develop single-leg strength along with exercises for the hips, hamstrings, calves, and core.
Good backpacking strength exercises include:
- Step-ups
- Split squats
- Reverse lunges
- Step-downs
- Romanian deadlifts
- Single-leg Romanian deadlifts
- Squats
- Calf raises
- Rows
- Loaded carries
- Planks, dead bugs, and Pallof presses
You don’t need to do all of these in every workout.
Backpacking Strength Workout
Use this as a starting point for the strength days in the plan.
Strength Workout A
- Step-Ups — 3 sets of 8–10 reps per leg
- Romanian Deadlift — 3 sets of 8–10 reps
- Reverse Lunge — 3 sets of 8 reps per leg
- Seated or Bent-Over Row — 3 sets of 10–12 reps
- Calf Raise — 3 sets of 12–15 reps
- Plank or Dead Bug — 3 sets
Strength Workout B
- Split Squat — 3 sets of 8–10 reps per leg
- Step-Down — 3 sets of 8–10 reps per leg
- Single-Leg Romanian Deadlift — 3 sets of 8 reps per leg
- Glute Bridge or Hip Thrust — 3 sets of 10–15 reps
- Loaded Carry — 3 rounds of 30–60 seconds
- Pallof Press or Side Plank — 3 sets per side
Choose resistance that makes the exercises challenging while still allowing you to maintain good technique.
If you’re new to strength training, begin with two sets instead of three.
Your 6-Week Backpacking Training Plan
The goal over the next six weeks is to gradually increase your strength, endurance, time on your feet, and comfort carrying a backpack.
The distances and pack weights below are guidelines rather than requirements. Adjust them based on your current fitness, hiking experience, and the demands of your trip.
You shouldn’t jump straight to a heavy pack simply because a training plan tells you to.
Week 1: Build Your Starting Point
The first week is about establishing a routine and seeing how your body responds.
Weekly Schedule
- Day 1: Strength Workout A
- Day 2: 30–45 minutes easy cardio
- Day 3: Rest or easy walking
- Day 4: Strength Workout B
- Day 5: Rest
- Day 6: 60–90 minute hike or brisk walk
- Day 7: Recovery
Your cardio should be at a sustainable effort. Walking, cycling, jogging, incline treadmill work, or another aerobic activity you enjoy can all work.
For your longer hike, choose terrain that feels manageable.
If you’re already accustomed to carrying a backpack, you can use a light pack. If you aren’t, there’s no need to load it heavily yet.
Week 2: Add Hills and Pack Time
This week, begin making one cardiovascular workout more specific to hiking.
Weekly Schedule
- Day 1: Strength Workout A
- Day 2: 35–45 minutes of hills, stairs, or incline treadmill
- Day 3: Rest or easy walking
- Day 4: Strength Workout B
- Day 5: 30–45 minutes of easy cardio or rest
- Day 6: 90-minute to 2-hour hike or walk with a light pack
- Day 7: Recovery
If you live somewhere flat, stairs, a stair machine, incline treadmill walking, and step-ups are all useful alternatives.
Start getting comfortable with the backpack you plan to use. Pay attention to how it fits and whether you know how to adjust the hip belt, shoulder straps, and sternum strap.
Week 3: Increase Time on Your Feet
By Week 3, start gradually increasing the duration of your longer hike.
Weekly Schedule
- Day 1: Strength Workout A
- Day 2: 45–60 minutes easy aerobic training
- Day 3: Rest
- Day 4: Strength Workout B
- Day 5: 30–45 minutes of hills or stairs
- Day 6: 2–3 hour hike with a progressively loaded pack
- Day 7: Recovery
Your pack should still be lighter than what you expect to carry on your trip unless you already have experience hiking with weight.
Add weight gradually rather than making a large jump from one week to the next.
This is also a good time to start testing the shoes, socks, backpack, and clothing you plan to use on your trip.
Week 4: Build Climbing and Descending Strength
Week 4 increases the hiking-specific work.
Weekly Schedule
- Day 1: Strength Workout A
- Day 2: 45–60 minutes of hills, stairs, or incline treadmill
- Day 3: Rest or easy walking
- Day 4: Strength Workout B
- Day 5: 30–45 minutes easy cardio
- Day 6: 3–4 hour hike with your pack
- Day 7: Recovery
If possible, choose a hike with meaningful elevation gain and loss.
Climbing is only half of backpacking. Long descents can be demanding because your legs repeatedly have to control your body as you step downhill.
Exercises such as step-downs, split squats, and controlled lunges are particularly useful for developing this type of strength.
Week 5: Your Most Specific Training Week
Week 5 should be the week that most closely resembles your upcoming trip.
That doesn’t mean you need to reproduce the entire trip in one workout.
Instead, try to match some of its major demands.
Weekly Schedule
- Day 1: Strength Workout A with slightly reduced volume
- Day 2: 45–60 minutes easy cardio
- Day 3: Rest
- Day 4: Short strength workout or hills
- Day 5: Rest or easy walking
- Day 6: Long training hike
- Day 7: Recovery or an easy walk
For your long hike, choose terrain that resembles your trip as closely as you reasonably can.
Consider:
- Distance
- Elevation gain
- Elevation loss
- Terrain
- Pack weight
- Time on your feet
If your trip involves multiple consecutive hiking days, you can also practice hiking on back-to-back days.
For example, you might complete your longer hike on Saturday and then take an easier 60–90 minute walk or hike on Sunday.
The second day doesn’t need to be hard. The purpose is simply to experience moving again when your legs are already somewhat tired.
Week 6: Reduce Training and Arrive Rested
The final week isn’t the time to squeeze in extra fitness.
You’ve already done the work.
Reduce your overall training volume so you aren’t carrying unnecessary fatigue into your trip.
Early in the Week
Complete one shorter strength workout using exercises you’re familiar with. Reduce the number of sets and avoid pushing yourself to failure.
You can also include one or two easy 30–45 minute walks or cardiovascular sessions.
Later in the Week
Reduce training further as your departure approaches.
Prioritize:
- Sleep
- Hydration
- Regular meals
- Packing and organizing gear
- Easy movement
- Recovery
Avoid introducing new exercises or doing an unusually hard workout right before your trip.
Your goal is to arrive at the trailhead feeling ready to hike, not sore from training.
How Much Weight Should You Carry While Training for Backpacking?
There isn’t one pack weight that’s right for everyone.
Your training weight depends on:
- Your current fitness
- Your backpacking experience
- Your body size
- Your expected trip weight
- The terrain you’re training on
- How far you’re walking
- How much time you have before the trip
If you’re new to carrying a backpack, start light.
Gradually add weight as your body becomes accustomed to it. You don’t need to carry your full expected trip weight during every training hike.
As your trip gets closer, some of your longer training hikes can approach the weight you realistically expect to carry.
The goal is gradual exposure, not making your backpack as heavy as possible.
How to Train for Backpacking Without Mountains
You can still prepare well for backpacking if you live somewhere flat.
Use whatever you have available.
Good options include:
- Incline treadmill walking
- Stair machines
- Stadium or building stairs
- Repeated hill loops
- Step-ups
- Walking with a backpack
- Longer walks to build time on your feet
You may need to be more creative, but you can still develop strength and cardiovascular fitness without regular access to mountain trails.
One thing that’s harder to reproduce indoors is extended downhill hiking.
If your trip involves long descents, include strength exercises such as step-downs, split squats, and lunges that emphasize controlled lowering.
Should You Train With Your Backpack?
Yes.
Don’t make the first day of your trip the first time you’ve carried your backpack for several hours.
Training with your actual backpack helps you become familiar with:
- Pack fit
- Shoulder and hip pressure
- Weight distribution
- Accessing food and water
- Layer storage
- Trekking pole use
- How your footwear feels under load
It also gives you time to solve problems before you’re several miles from the trailhead.
Should You Train on Back-to-Back Days?
If you’re preparing for a multi-day backpacking trip, some back-to-back training can be useful.
You don’t need to do it every weekend.
As your trip gets closer, occasionally completing a longer hike followed by an easier hike or walk the next day can help prepare you for consecutive days on your feet.
If you’re training for a one-day hike, this is much less important.
What About Cardio for Backpacking?
You don’t need to run to train for backpacking.
Running can certainly be part of your program if you enjoy it, but walking, hiking, cycling, incline treadmill work, and stair climbing can all improve cardiovascular fitness.
Most of your aerobic training should be sustainable enough that you could maintain the effort for an extended period.
Then use hills, stairs, and longer hikes to add more hiking-specific conditioning.
How Long Should You Train for a Backpacking Trip?
Six weeks can be enough to make meaningful progress if you already have a reasonable fitness base.
But more time is usually better.
If you’re currently inactive, new to hiking, or preparing for a difficult multi-day trip with significant mileage and elevation, consider giving yourself a longer hiking training plan.
The more demanding the trip, the more useful a longer training period becomes.
Your starting point matters just as much as your destination.
Signs You May Need More Recovery
Some fatigue after training is normal.
But continually adding more training isn’t always the answer.
Consider reducing your training load if you’re experiencing:
- Unusual fatigue that isn’t improving
- Declining workout performance
- Persistent soreness
- Difficulty sleeping
- Loss of motivation to train
- Pain that worsens during or after training
If you develop persistent or worsening pain, or you’re concerned about an injury, get evaluated by an appropriate healthcare professional rather than trying to train through it.
Recovery is part of the training plan.
Don’t Forget Nutrition, Hydration, and Gear
Physical training is only part of backpacking preparation.
Your longer training hikes are also an opportunity to practice eating and drinking while you’re moving.
Use those hikes to learn:
- What foods sit well while hiking
- How frequently you need to eat
- How much water you tend to drink
- How you’ll carry and access water
- Whether your pack is comfortable
- Whether your shoes and socks work over longer distances
Don’t wait until your trip to test everything.
A successful training hike can teach you just as much about your gear and fueling as it does about your fitness.
Adjust the Plan to Your Backpacking Trip
A six-week backpacking training plan shouldn’t look exactly the same for everyone.
A relatively flat overnight trip and a multi-day route with thousands of feet of elevation gain each day require very different preparation.
When planning your training, look at:
- Daily mileage
- Daily elevation gain and loss
- Number of hiking days
- Trail conditions
- Expected pack weight
- Altitude
- Your current fitness
- Your hiking and backpacking experience
Then make your training increasingly specific to those demands.
That’s ultimately what good backpacking preparation comes down to: figuring out what your trip will ask of you and gradually preparing your body for it.
Get Ready for Your Backpacking Trip
You don’t need to be an elite athlete to prepare well for a backpacking trip.
You need enough time, a realistic plan, and consistent training.
Build strength. Improve your cardiovascular fitness. Spend progressively more time on your feet. Practice climbing and descending. Get comfortable carrying your pack. And use your longer training hikes to test the gear, food, and routines you’ll rely on during your trip.
If you’re preparing for a specific backpacking trip, hiking vacation, or multi-day trek and want a training program built around your route, timeline, current fitness, and available equipment, learn more about personalized Online Hiking Training & Coaching with Aspire for Adventure.