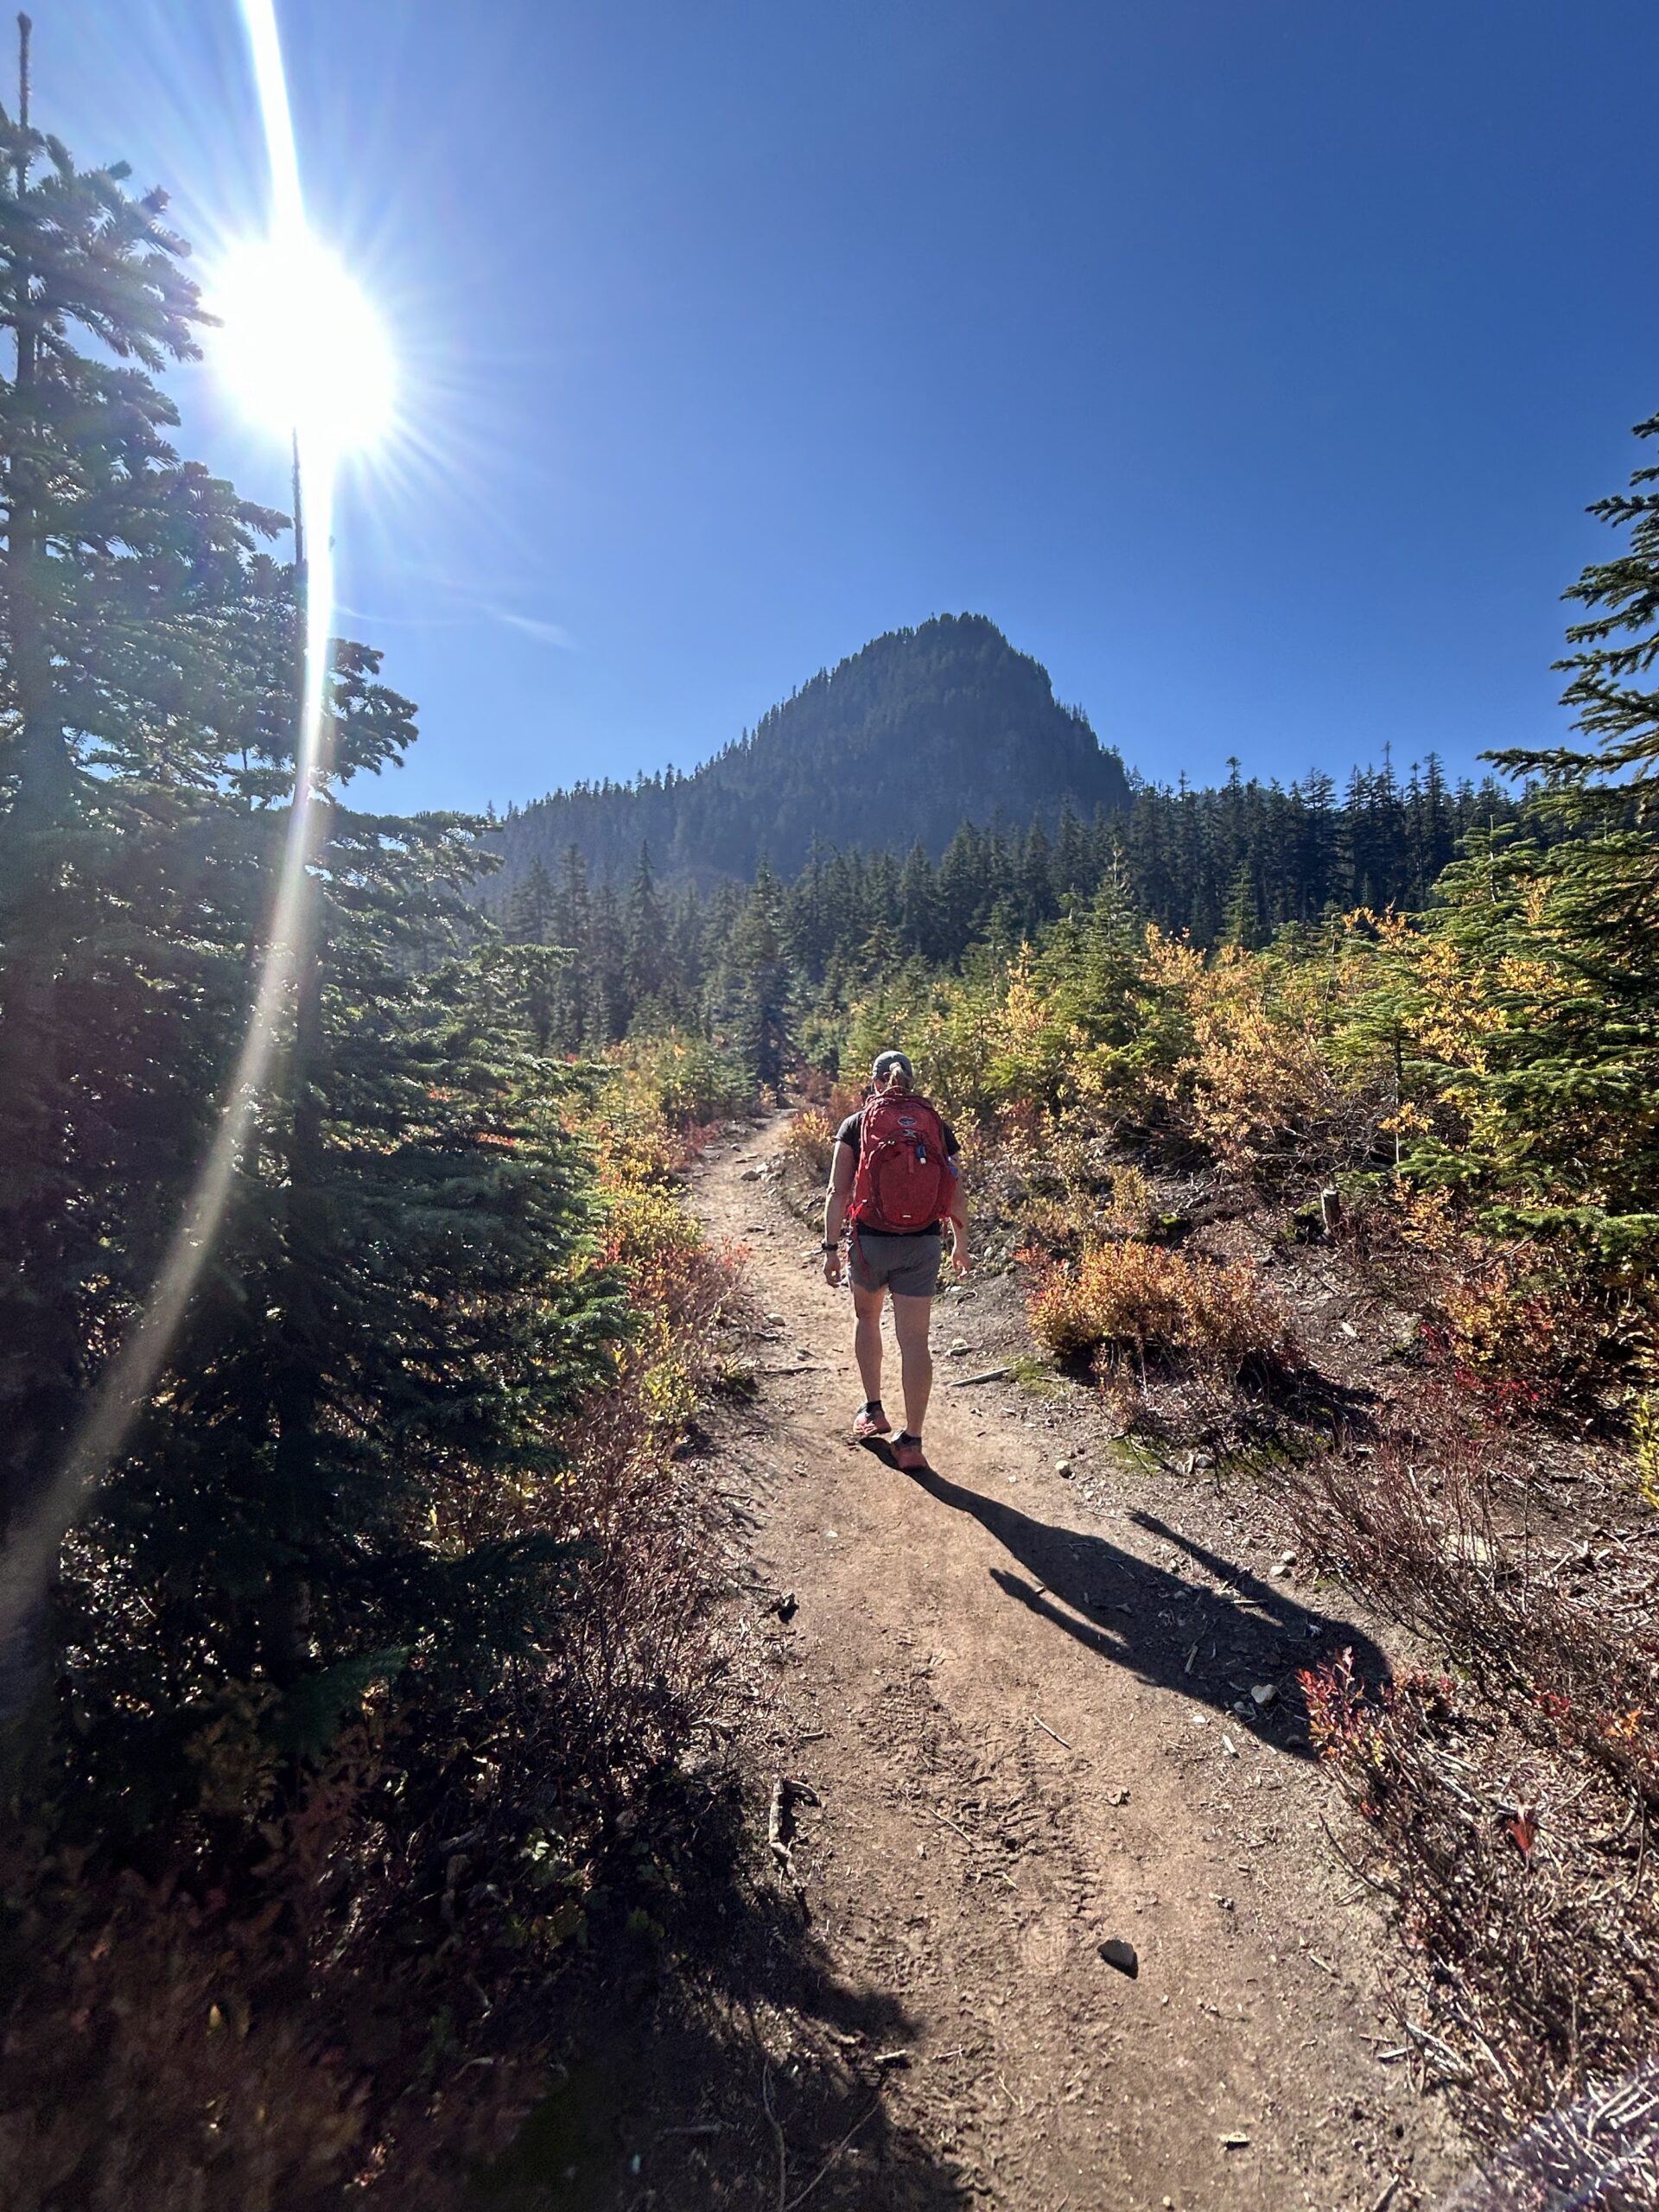
Going uphill usually gets most of the attention when people train for hiking. But if you’ve ever finished a long descent with tired, shaky quads, you know that going downhill can be just as demanding on your legs.
As a personal trainer and licensed Physical Therapist Assistant, I think downhill hiking is something hikers should specifically prepare for rather than simply hoping their regular workouts will carry over.
Cardiovascular fitness is important, but downhill hiking also requires your legs to repeatedly control your body against gravity. Building strength for that specific demand can help you feel stronger and more controlled as the miles and elevation add up.
Why Is Hiking Downhill So Demanding?
When you hike uphill, your leg muscles primarily produce force to move you upward. During a descent, those same muscles have to repeatedly control and slow your body as you move downhill.
This involves eccentric muscle contractions, where a muscle produces force while lengthening.
Your quadriceps do a significant amount of this work during a descent. Your hips, calves, ankles, and core also contribute to maintaining control and stability, particularly on uneven terrain or while carrying a backpack.
That’s why someone can have excellent cardiovascular fitness and still find that their legs become extremely fatigued during a long descent.
5 Best Strength Exercises for Downhill Hiking
These exercises emphasize single-leg strength, control, balance, and the ability to manage load—all useful qualities for hiking.
1. Lateral Step-Downs
Stand on a low step with one foot near the edge. Slowly lower the opposite heel toward the floor while keeping your stance leg controlled. Lightly touch the floor and return to the starting position.
Why it’s useful: Step-downs train your quadriceps and hips while requiring single-leg control. The slow lowering portion also emphasizes the eccentric strength used while descending.
Start with a low step and progress the height or resistance as your control improves.
2. Single-Leg Romanian Deadlifts
Stand on one leg with a slight bend in your knee. Hinge at your hips while extending the opposite leg behind you. Keep your hips relatively level and return to standing under control.
Why it’s useful: This exercise develops single-leg balance along with strength through the glutes and hamstrings. That combination can be particularly useful when navigating uneven terrain.
If balance is difficult initially, lightly hold onto a stable surface.
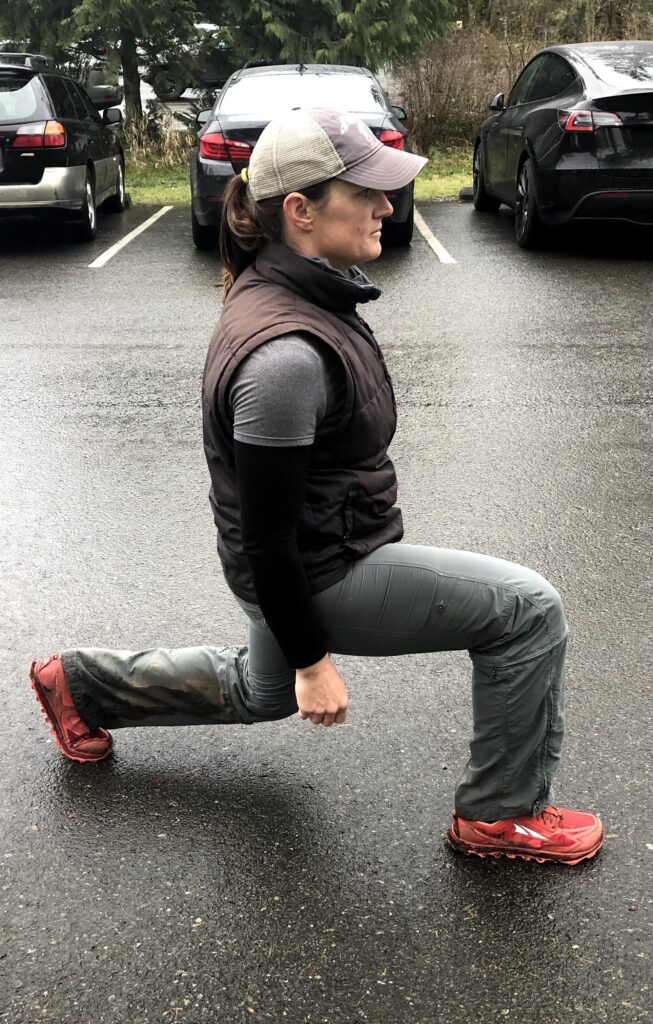
3. Reverse Lunges
Step one foot backward and lower into a lunge while keeping the front leg controlled. Push through the front foot to return to standing.
Why it’s useful: Reverse lunges develop single-leg strength through the quads and hips while challenging balance and control.
Once bodyweight lunges feel comfortable, you can gradually add resistance.
4. Tempo Goblet Squats
Hold a dumbbell or kettlebell in front of your chest. Take approximately three seconds to lower into the squat, pause briefly, and then stand back up.
Why it’s useful: Slowing the lowering portion increases the eccentric demand on your legs. This can be a simple way to train the controlled strength needed during prolonged descents.
5. Farmer’s Carries
Hold a dumbbell or kettlebell in each hand and walk while maintaining a tall, controlled posture.
Why it’s useful: Carries challenge your grip, trunk, shoulders, and overall ability to maintain posture while moving under load. That’s useful preparation for hikers who will spend hours carrying a backpack.
Use a weight that challenges you without compromising your posture or walking mechanics.
Downhill Hiking Strength Workout
You can turn these exercises into a straightforward strength session:
- Lateral step-downs — 3 × 8–10 each leg
- Single-leg Romanian deadlifts — 3 × 8 each leg
- Reverse lunges — 3 × 8 each leg
- Tempo goblet squats — 3 × 8–10
- Farmer’s carries — 3 × 30–60 seconds
You don’t need to make every set exhausting. Focus on controlled movement and gradually increase the resistance or difficulty as you get stronger.
Don’t Forget to Actually Train on Hills
Strength training is valuable, but the gym can’t completely reproduce several hours of hiking.
As your fitness improves, gradually include trails with elevation gain and descent in your training. This allows your legs to adapt to repeated downhill steps while also preparing you for uneven terrain and longer periods on your feet.
If you don’t have easy access to trails, step-downs, stairs, and other controlled lowering exercises can help supplement your training.
Should You Use Trekking Poles?
Trekking poles can be useful on steep or prolonged descents and can provide additional stability on uneven terrain.
They aren’t a substitute for strength training, but if you plan to use poles on your trip, practice with them during training hikes rather than trying them for the first time on your big hike.
A Quick Warm-Up Before Hiking
You don’t need an elaborate routine at the trailhead. A few minutes of easy movement can help you transition into the hike.
Try an easy walk followed by movements such as:
- Leg swings
- Bodyweight squats
- Walking lunges
- Calf raises
Then start the hike at a comfortable pace and allow yourself to gradually warm up.
Build Strength for the Trail
Good hiking fitness isn’t just about how quickly you can climb. You also need enough strength and control to handle descents, uneven terrain, and hours on your feet.
Strength training that includes single-leg exercises and controlled eccentric movements can help prepare your legs for those demands. Combine that with progressively more hiking, elevation, and appropriate recovery as your trip approaches.
For a more complete approach to preparing for the trail, read my How to Train for Hiking guide and my 12-Week Hiking Training Plan.
Preparing for a Specific Hike or Trek?
I offer personalized online hiking training built around your current fitness, schedule, available equipment, and the specific demands of the adventure you’re preparing for.
Learn more about personalized online hiking training and coaching.